Ridgeway Farm Community Orchard

HOW TO BE INVOLVED
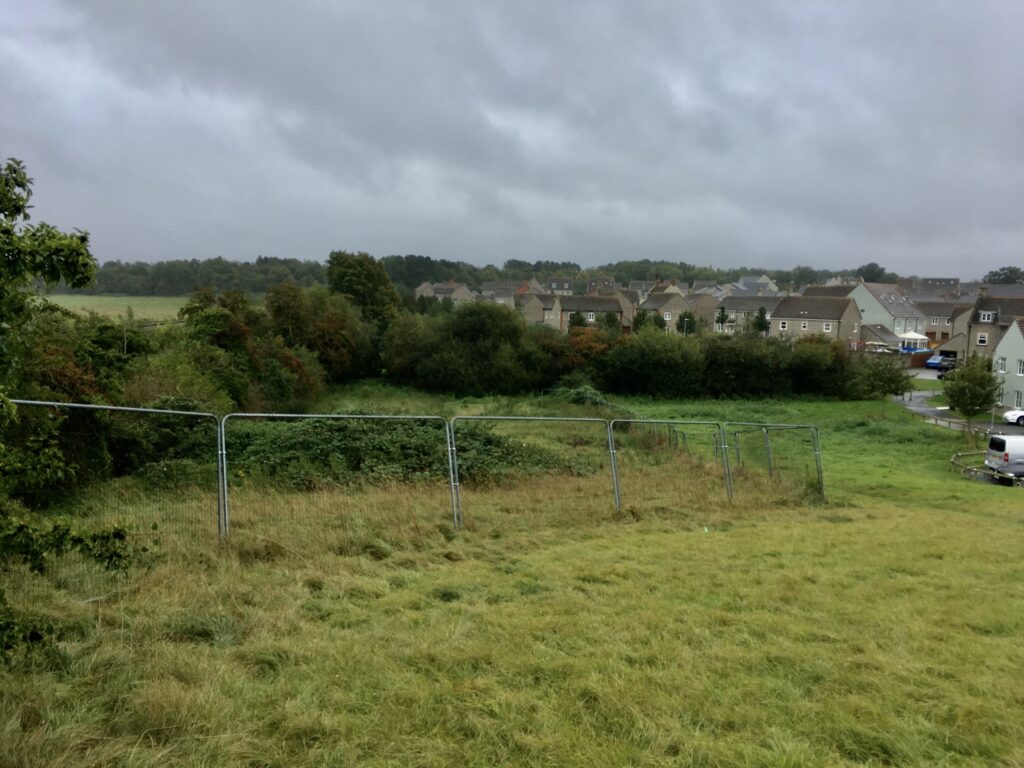
This is a voluntary community group of residents from Ridgeway Farm helping to create and maintain an orchard on the public open space to the east of River View next to the railway line.
Started as a part of the Ridgeway Farm Art Project this initiative is for the benefit of the whole development and will be run by residents. This exciting project needs the support of the wider Ridgeway Farm community.
We know that just being in nature is good for us, this will be an open access place to relax, play, work and learn – and eat fruit!
As a long term project you will be able to enjoy the fruits of your labours in years to come through:
- Helping to plan, fundraise and organise the orchard
- Get involved in choosing types of fruit trees and help plant them
- Harvesting the fruits for you to enjoy at home or with a community bake-off
- Get out doors, get some exercise, checking the trees are ok and giving them a water in dry weather and weeding, pruning when the time comes.
- Enjoy more wildlife and biodiversity around your homes – encourage the birds, bees, moths, bats and help the environment.
- When the trees grow you can enjoy wandering through the shady fruit trees on a summers day
- Planting pips from the fruits to grow more trees for the future
- Celebrate Apple Day 21st October each year with some apple bobbing.
- Wassail the apple trees on Old Twelfth Night to secure a good harvest in the year to come.
As Ridgeway Farm doesn’t have a village hall on the doorstep, the orchard could be the next best thing – an outdoors focal point and gathering place for communal activities and a great asset for the whole development.

PLANTING DAY!
Information courtesy of www.theorchardproject.org.uk
The day has finally arrived, it’s probably a winter’s day as trees are best planted when dormant (normally November to March) but without snow on the ground. It may be chilly but there’s going to be a lot of digging to warm everyone up. Failing that, bring plenty of tea and biscuits.
You will need:
- Trees!
- Sturdy spades with treads to dig the pits
- Mulch mats
- Loose mulch
- A pinch bar to make pilot holes for the stakes
- Two stakes per tree
- Tree ties or old tights
- At least two hard hats and safety goggles
- Sheets of wire mesh
- Hammer and fence staples
- A pair of wire cutters
- Old bicycle inner tubes
- Cable ties
The pit
We always dig a square shaped pit on the basis that there is less chance that the growing roots will reach the side then grow round the edge instead of penetrating into the surrounding soil; a square pit provides angles for the roots to get stuck into. The pit should be 2×2 spade widths minimum, although it should be made much larger, even double this, on heavily compacted soils. The pit should be dug to at least one spade’s depth and it is important to break up the underlying soil with a fork, especially if this is a layer of clay.
Dig the pit like this:
- Use the spade to mark out the edge of the square, cutting into the top couple of inches as you go around.
- Place your mulch mat adjacent to the square.
- Cut your square into quarters or sixths.
- Use your spade to slice off the squares of turf you just created, shaking off the top soil onto one side of your mulch mat, then put the turf squares to one side.
- Dig the pit, and place the top few inches of soil you dig out onto one side of the mulch mat and the deeper soil onto the other side. Be sure to retain the sharp angles of the square as you get deeper.
- Once the pit is a spade’s depth, use a fork to break up the underlying soil and to create penetration holes down the sides.
Planting
- The pit should accommodate the root ball without the roots having to be squeezed in or bent up the sides – check the tree to be planted by holding the roots in the pit.
- Any long roots can be accommodated by using the spade to make a slit from one of the corners. Ease the spade forward so that the slit can be opened and the root tucked in, before removing the spade and tamping the ground down.
- Some of the turf taken off can be placed upside down in the bottom of the pit (the grass and roots will break down and provide nutrition to the tree).
- Have one person hold the tree in position while the other back fills. It is important that the graft union (the bulge where the rootstock has been grafted onto the scion) remains 8-10cm above the ground level (a cane or spade handle can be laid across the top of the pit to measure the tree against.
- The person back filling should aim to first put the topsoil back in as this has more nutrients, being careful to ensure that no air spaces are left around the roots. The tree holder can gently shake the tree every few minutes to ensure soil falls into any spaces. Care should be taken to lift any roots that originate from higher up, placing soil underneath them so that the roots extend at many levels, as they did when they grew in the nursery. This helps with stability.
- The rest of the soil can then be added, until the pit has been filled and tamped down to the surrounding soil level. It is often easier (and much more satisfying!) to have both people pick up the mat and pour the remaining soil in rather than using the spade.
Mulching
- A generous layer of mulch can then be added. This should form a circle around the tree, around 1m diameter and 8-10cm thick. A hollow should be made immediately around the base of the tree’s stem so that the mulch is not touching the bark, which can lead to rotting. The mulch should now resemble a doughnut of sorts.
- Wood chip from hard wood species makes a good mulch, as does well-rotted compost.
Guarding
We have had over a 98% tree survival rate for our newly planted fruit trees. Part of this success is down to the guarding technique we use. This is really important in urban areas to stop vandalism, for example, people snapping young fruit trees and the most damaging urban pest in young orchards – fighting dogs. Guarding also protects trees for accidental damage, for example strimmers. We use heavy gauge wire mesh guards and 2 sturdy posts. The guards are then reduced as the trees grow to allow room for branches to spread.
- Once the tree is in, the position of the two guard posts should be measured, 3 spade widths apart (approx. 54cm), with the tree in the middle. In order the guard to allow the tree sufficient space, it is vital to get this distance correct; making the holes too close or too far apart will retard the guard circumference.
- Use the pinch bar to make a pilot hole for each post (some of the mulch may have to be moved slightly while making these holes and fitting the wire mesh).
- Lay down each post so that the pointed end points to its hole.
- Two people are needed for the next stage. Ensure both are wearing hard hats and goggles.
- One person will slide the stake driver onto the end of the post (horizontally, as the post is still lying on the ground).
- Then, as the person lifts the stake driver with the post in it slowly into vertical position, while the other guides the pointed end into the pilot hole.
- Once vertical, both people take opposite handles of the stake driver. At this point it’s useful to have a third person stand back and make sure that they’re holding the post vertically, and not at an angle, to prevent a crooked guard.
- Once vertical, and after the count of three, both people bash the post into the ground to a depth of two feet, with six feet left above the ground.
- Two pieces of wire mesh fencing are then nailed on with fencing staples, with three staples up each side (bottom, middle and top). You may have to rearrange the mulch a little to allow these to be positioned.
- Some branches may need to be carefully threaded through the mesh while these are being fitted. Any good, wide angled branches that could form scaffold branches should be allowed through by cutting small holes for them. These then need to be lined (see below) to prevent rubbing.
- A weeding hatch should then cut low down on one side of the mesh. This should be about 4-5 squares across and 3 up. Try to cut the wire as flush as possible as the remaining edges will be razor sharp. Use cable ties to attach an old bicycle inner tube, lining the hatch to prevent injury from the sharp bits.
Pruning
People are often concerned about pruning fruit trees as it can appear to be a difficult task, requiring specialist skills. Fortunately, fruit trees are fairly resilient and can usually survive even poor pruning attempts.
During the first few years, leaving a tree without any pruning can cause problems as it is needed to establish a shape that is suitable for the space available, and to remove unwanted bits of the tree such as overlong branches, crossing or unproductive branches, or dead and diseased wood. Therefore we would recommend that during the first few year’s you undertake pruning as outlined below:
- Arrange for an expert to come and show the community how to prune fruit trees. This could be a local specialist or keen amateur gardener that knows about fruit trees.
- Fruit trees will also need formative pruning in the early spring after they are planted, before they come into leaf. Formative pruning is important as it will determine the ultimate shape of the tree and aid in its establishment in its first year. Seek professional help or do further research to feel confident to do this as a community group
- During the spring of the first two years after planting, pinch out any flowers that develop to prevent fruit growth. Growing fruit in the first few years after planting diverts energy away from developing new shoots and roots. During this early stage in the trees’ life, getting established is crucial. So although you may want apples immediately, a little patience will pay dividends in the longer term.
When to Prune Fruit Trees
- Most fruit trees don’t need pruning annually once they have been trained. Initial fruit tree pruning is important to help young trees produce thick stems and open canopies where light and air can enter and promote flowering, as well as reduce fungal and bacterial diseases.
- The best time for pruning fruit trees is at planting and in subsequent years, in early spring before buds break and trees are still dormant. Pruning should be undertaken at planting time where you cut the new stem off 24 to 30 inches (61-76 cm.) from the ground and remove any side shoots. This causes the new tree to grow low branches and balances growth and the root system to keep the plant from getting top heavy during establishment. You can’t expect much fruiting the first two to three years as the plant develops low branches for better fruiting. This training for young trees can take many forms, but the most common is central leader training. This type of training gives the tree a strong trunk and laterally branching stems that start about 30 inches (76 cm.) from the ground. The scaffold is formed by selecting a scaffold whorl, four to five balanced branches, which will form the base form of the tree.
Fruit Tree Pruning After the First Year
- It’s important to know how to prune a fruit tree for the first three years. The goal is to increase scaffold strength, promote fruiting branches and minimize rubbing and crossing. The best time for pruning fruit trees that are newly planted is in the summer, after new growth has begun to sprout from the initial cuts.
- After new growth has reached 3 to 4 inches (8-10 cm.), select the central leader and remove all other branches 4 inches (10 cm.) below it. Side branches are spread with toothpicks or similar items to form crotch angles of 45 to 60 degrees from the central leader. This allows maximum light and air and creates strong branches that aren’t prone to splitting and can handle a load of heavy fruit. After five to six weeks, remove these spreaders.
- Free-standing fruit trees or bush trees, such as those grown in an orchard should be pruned when they’re dormant, in winter.
- Trained trees, such as espaliers, cordons, pyramids and fans should be pruned in late August or early September.
How to Prune a Fruit Tree After Three Years
- The first three years are devoted to managing the scaffold, removing any crossing branches, secondary stems, waterspouts (or sucker growth), downward growth and heading back lateral growth to one-quarter of their complete length. This later step forces side branches.
- Dormant pruning is used on mature trees to keep the lateral branches in the proper shape by cutting them back to at least two-year-old wood that is at close to the same diameter using angle cuts that force water away from the cut end. Dormant pruning in early spring is also the time to remove dead wood and errant growth that is weak and diminishes fruiting.
- Once the tree is mature, if proper training took place, pruning is nearly unnecessary except to reduce downward weak branches, waterspouts and remove dead wood. Neglected fruit trees may require drastic rejuvenation pruning, which reinvigorates the scaffold but will minimize fruit load for several years.
Pruning tools
- When pruning it’s essential to keep your secateurs sharp and clean – disinfect your tools before you start work. Blunt tools can cause branches to tear, leading to wounds on the tree that will attract disease.
- It’s also important to have a pruning saw to cut off larger branches.
How To Prune – The Basics
Pruning a bush tree
- A bush tree is the most common form of fruit tree, with an open arrangement of branches growing from a short trunk.
- Remove any dead, dying or diseased branches and then cut out any branches that are crossing over each other.
- Branches that are growing into the centre of the tree can also be cut out , as prevents sunlight from reaching it.
- If the tree has reached the desired height, cut back the leaders (the new growth at the tip of each branch) by about two-thirds.
- If you want the tree to grow taller, leave the leaders and cut back lateral branches leaving about six buds.
Pruning shaped fruit trees
- There are numerous ways trees can be trained, according to the type of fruit and the space available. Avoid tip bearing varieties when buying a tree to shape, as it is necessary to spur prune these plants to keep the shape.
- The simplest form of fruit tree is a cordon, a single, supported straight stem studded with short fruiting spurs that receive most of the plant’s vigour and light.
- For the first three years until fruiting begins, the aim of pruning is to develop the shape by tying in the main stem, or leader, and shortening new side-shoots, or laterals, to three leaves beyond their basal cluster of leaves.
- Cut back any shoots that grow from these pruned laterals to one leaf.
- Once the leader reaches the required height, shorten its new growth annually to two buds in late August. In winter cut the spurs out to prevent crowding.
- Apple or pear espaliers and fans are pruned in the same way, each branch being treated as a separate cordon.
Pruning overgrown trees
- Old, neglected trees are often vigorous and very large, with the fruit out of reach. Rejuvenate them over two to three seasons by cutting out all the dead or diseased wood as well as a few main branches to allow more sunlight in.
- Shortening others to side branches and thinning overcrowded spurs also helps stimulate new productive shoots.